Canceling your Shopify subscription involves more than just deactivating your store. It’s essential to ensure that all your data is backed up, your finances are settled, and your domain and apps are properly handled. This comprehensive guide will walk you through the entire process to avoid any disruptions or unexpected issues.

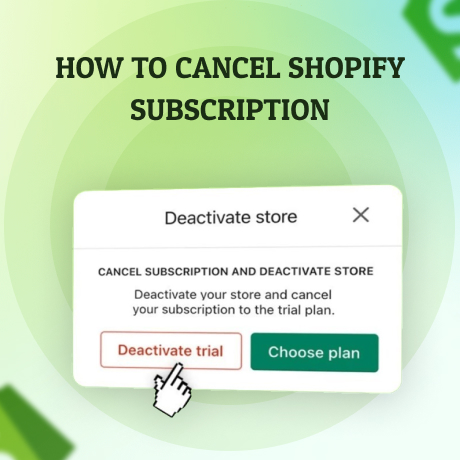
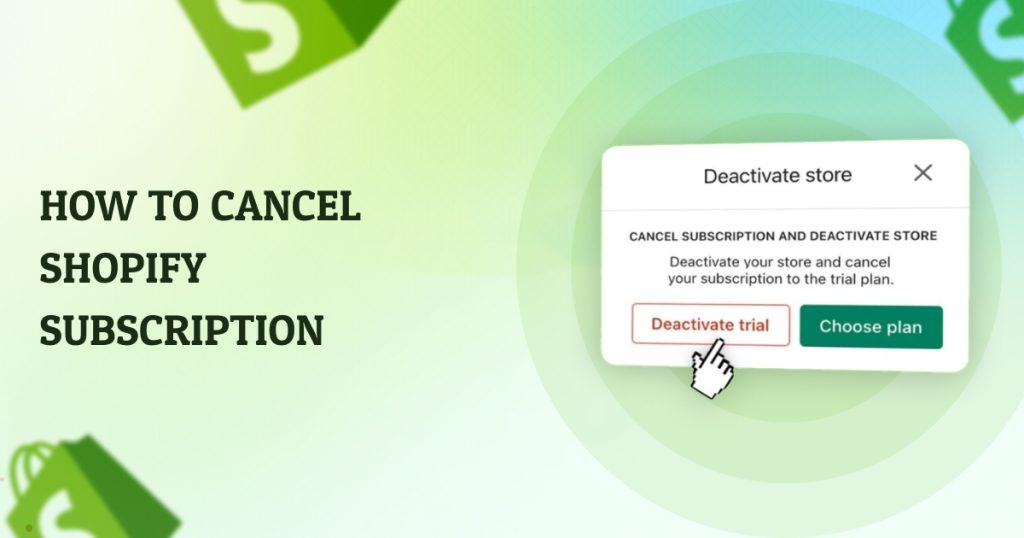
Just realized I need to deactivate my store on Shopify. Time to cancel that subscription and choose a new plan! 🛒💻 #DeactivateStore #Shopify
1. Prepare Your Store for Deactivation
Before canceling your Shopify subscription, take the following preparatory steps:
Export Your Data:
– Back up important data such as customer information, order history, product details, and financial reports. Shopify allows you to export CSV files for most of this data, which can be useful if you plan to switch platforms or keep records.
Fulfill Pending Orders:
– Ensure all pending orders are fulfilled and you’ve communicated with your customers regarding ongoing transactions.
Cancel Active Subscriptions and Apps:
– If you’re using third-party apps or services, cancel those subscriptions to avoid being charged after deactivation. Some apps may continue billing you outside of Shopify, so check your payment methods.
2. Deactivate Your Shopify Store
Follow these steps to deactivate your Shopify store:
Access Shopify Admin:
– Log in to your Shopify account and navigate to the Shopify Admin dashboard.
Go to Settings:

Just signed up for @Shopify and I’m loving the personalized guide to help me set up my online store! Plus, getting my first month for just ₹20? Yes, please! #ecommerce #onlineselling
– Scroll down to the bottom left of the dashboard and click on Settings.
Select ‘Plan’ or ‘Plans and Permissions’:
– Click on Plan (or Plans and permissions depending on your interface) in the Settings menu.
Deactivate Your Store:
– Under the Store status section, click on Deactivate store.

– Shopify will allow you to pause your store instead of permanently deactivating it. If you’re sure about canceling, proceed with deactivation.
Choose a Reason for Deactivation:
– Shopify will prompt you to select a reason for closing your store. This is optional but helps Shopify improve its services.
Confirm Your Deactivation:
– Enter your password when prompted and click Deactivate now. This will immediately deactivate your store, and you’ll receive a confirmation email.
3. Manage Your Domain and Accounts
If you have purchased a domain through Shopify or connected a third-party domain, consider the following:
Transfer or Disconnect Your Domain:
– If you purchased your domain through Shopify and want to use it elsewhere, you’ll need to transfer it to another provider. Alternatively, you can disconnect it from Shopify if you don’t plan to use it again.
Cancel Shopify-Managed Email Forwarding:
– If you were using Shopify’s email forwarding, make sure to cancel or update it.
4. Understand the Financial Implications
Final Billing Cycle:
– Shopify bills at the start of each billing cycle. If you cancel in the middle of a billing cycle, you won’t receive a prorated refund. Your store will remain active until the end of the billing cycle if you choose to pause it.
Outstanding Balances:
– Make sure all outstanding balances, including app fees and transaction fees, are settled before deactivating your account.
5. Consider Alternative Options
If you’re unsure about permanently closing your store, Shopify offers alternative solutions:
Pause Your Store:
– Shopify allows you to pause your store, which reduces the subscription fee and keeps your store’s data intact. This option is useful if you plan to return to Shopify in the future.
Downgrade Your Plan:
– If cost is a concern, consider downgrading to a lower-tier plan rather than canceling entirely.
6. Final Thoughts
Once your store is deactivated, your data, including products and customer information, will be deleted unless you reactivate your store within a specified period. Keep this in mind as you make your decision.
Canceling your Shopify subscription is a significant step, especially if you’ve invested time and resources into building your online store. By following this guide, you can ensure a smooth transition, whether you’re switching to another platform, pausing your operations, or closing down for good.
Recommended Posts

Top Most Useful CMS Tools For Creating Websites
September 12, 2024

Grow Your Business Fast: Proven Strategies For Success
November 7, 2024

Why Laravel is Still the Best Framework for Web Development in 2024
November 7, 2024

